At the time of writing this blog post, I wanted a way to be able to upload image files to Amazon AWS S3 locally rather than uploading directly to my Amazon AWS account.
While searching for a solution to this problem I came across MinIO, a S3 compatible object store.

How to install
MacOS Install
To install on MacOS easily use brew in the terminal.
brew install minio/stable/minio
After installation, use the minio command to set the file directory for file data.
minio server /data
Linux Install
Download the appropriate file type using the wget command. The type for my system is amd64 which should be the most common one, if that one doesn’t apply then go to the MinIO GitHub page to see the other types.
wget https://dl.min.io/server/minio/release/linux-amd64/minio
Change the file permission of the minio file to be able to execute it.
chmod +x minio
Move the MinIO to the following directory so you can run it from anywhere.
sudo mv minio /usr/local/bin
Try running minio to verify it’s working.
minio
How to use
To begin you need to create a folder somewhere in your system, this folder will be used by minio to store files.
mkdir ~/data
Use this directory for the server command.
minio server ~/data
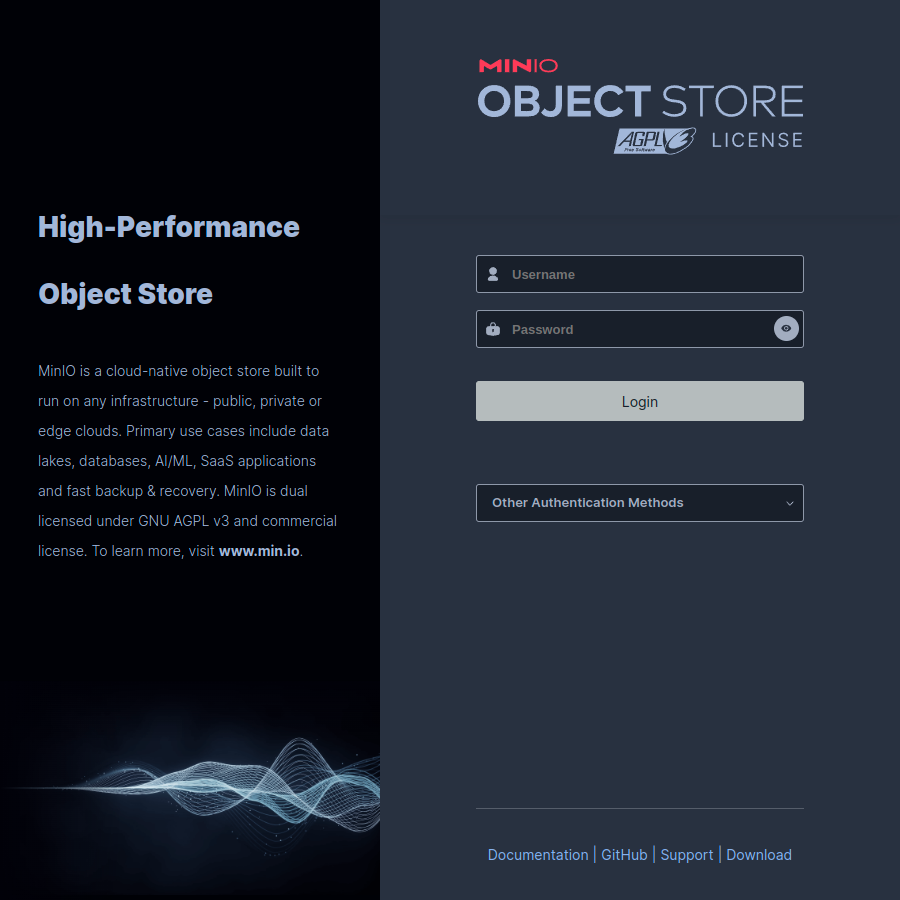
Check the outputted text for details on the API and WebUI URLs with login details.
For me the URL for the WebUI was http://192.168.0.199:42663 and the username and password should be minioadmin.
You can use the UI to manage buckets and files, I was able to create a bucket and upload an example image with ease as shown below.
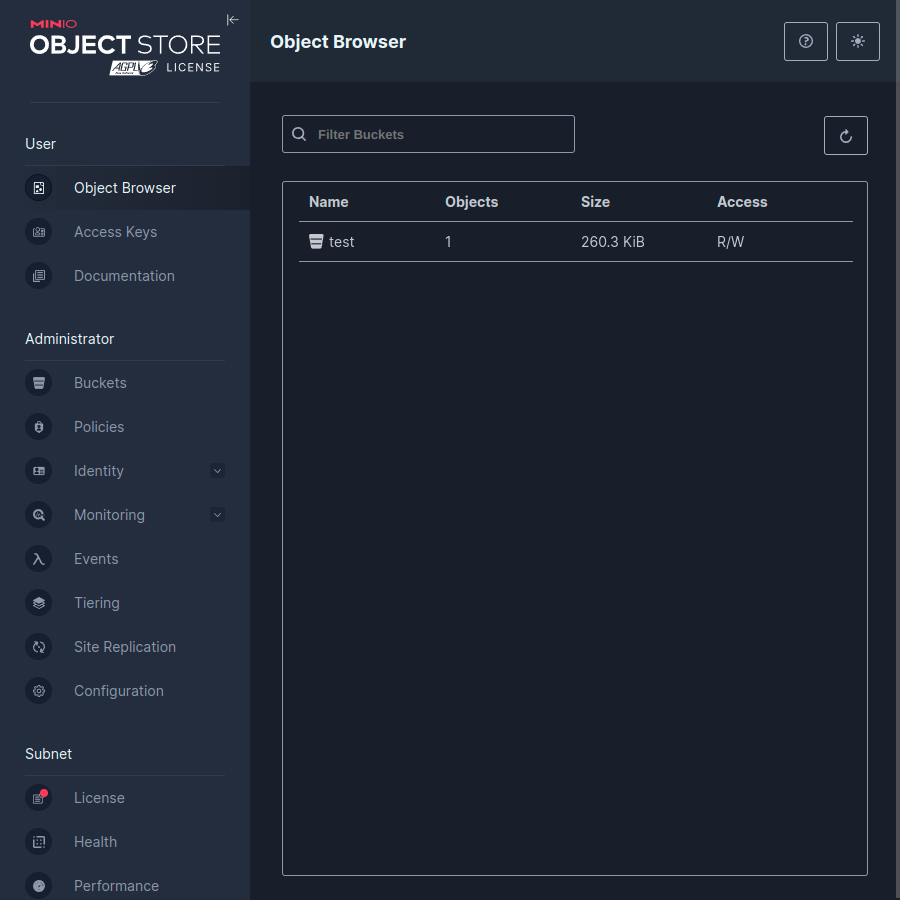
To integrate MinIO with your development there is a section for the Access keys so it should be a case of generating the keys and using the API.
I plan to use MinIO with the Storage object for a Laravel project.
MC CLI command
Use the following to download the mc script and add it to a directory in your system.
curl https://dl.min.io/client/mc/release/linux-amd64/mc \
  --create-dirs \
  -o $HOME/minio-binaries/mc
Set the mc file to have execution file permission.
chmod +x $HOME/minio-binaries/mc
Add the path used for mc to the main PATH.
export PATH=$PATH:$HOME/minio-binaries/
Now the mc command should work, try it to verify it’s working.
mc
You can use a CLI tool to manage buckets and files as well, run the following to set up. This sets an alias so mc can connect to minio using the login details provided.
mc alias set 'myminio' 'http://192.168.0.199:9000' 'minioadmin' 'minioadmin'
To make a bucket public so files are accessible by everyone use the following command, replace [BUCKET NAME] with the actual bucket you want to make public.
mc anonymous set public myminio/[BUCKET NAME]