Introduction
After doing a clean install of MacOS Sonoma on my Macbook Pro 2019 (Intel-based) I needed to re-install all the applications I use.
I figure this would be a good opportunity to write up a guide on how I would do this to show others how I configure my machine.
Brew install
The very first thing to install should be homebrew which is a package manager that was exclusively for macOS but is now available for Linux.
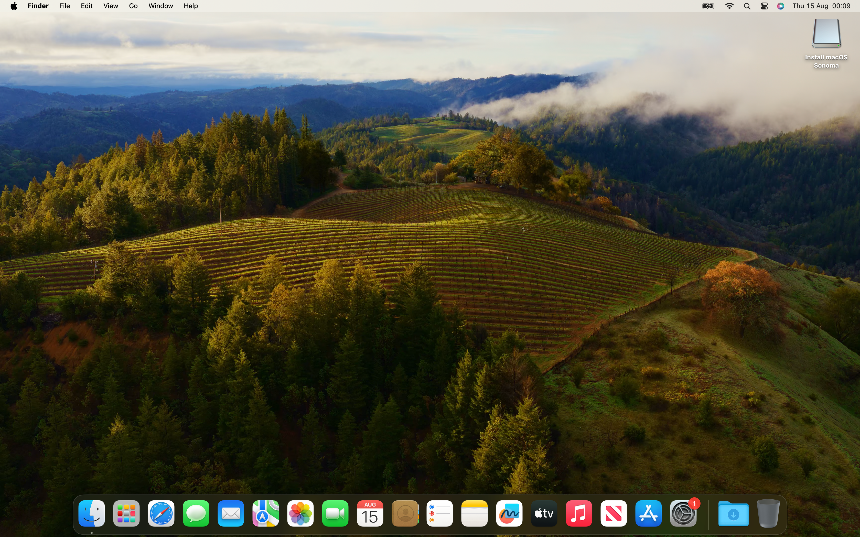
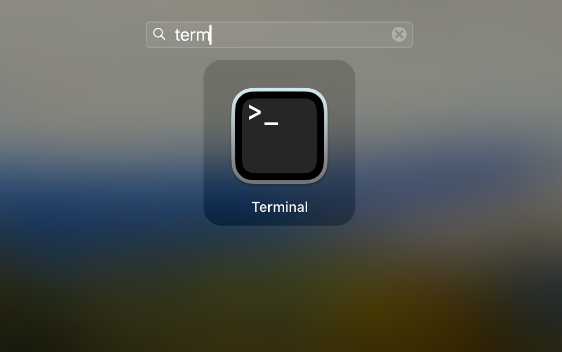
To access the terminal application click the launchpad icon, start typing into the search “terminal” until the terminal icon shows, and click on the icon to open the terminal application.
Copy and paste the command below into the terminal, and then press the Enter key to run it.
This will install homebrew where you can use it to install libraries and applications.
/bin/bash -c "$(curl -fsSL https://raw.githubusercontent.com/Homebrew/install/HEAD/install.sh)"
Try running the brew command, if the brew command is working then a list of brew commands should be output.
brew
Configure terminal
To improve working with the terminal the following libraries will be installed.
To install Zsh run the following.
brew install zsh
Next, install the oh-my-zsh framework for Zsh.
sh -c "$(curl -fsSL https://raw.githubusercontent.com/ohmyzsh/ohmyzsh/master/tools/install.sh)"
Install PHP
Install PHP using brew.
brew install php
Run the following command to verify that PHP is installed and to check that the latest version of PHP is available.
php -v
The PHP package manager will also be required, use Brew to install composer.
brew install composer
Run composer to verify that it’s working.
composer
Install MySQL
MySQL can be installed easily using the following command.
brew install mysql
After install is complete try and login to MySQL using the default root user, the password should be blank by default.
mysql -u root
To run the MySQL service use the following command, this command should also auto-run on the system boot so you won’t need to run it again.
brew services start mysql
Install Node
For PHP development Node can sometimes be required, especially with Laravel development.
brew install node
Check that Node is installed by checking the version.
node -v
Also, check that Node Package Manager is working by doing a version check.
npm -v
Install macOS applications
These applications will be based on my personal developer setup.
Web browser
I use Google Chrome because it’s the most widely used browser in the world as of right now so it makes sense to develop websites through Chrome first before checking on other browsers.
brew install --cask google-chrome
Code Editor
Visual Studio Code is my choice of code editor because of its ease of use and that it’s flexible enough to work with backend programming languages other than PHP.
brew install --cask visual-studio-code
REST Client
As of right now, I’m currently using Postman as it’s the most well-known rest client application.
brew install --cask postman
MySQL client
Back in the day, I used to use Sequel Pro a lot, Sequel Ace is the successor to it so it’s my choice for the MySQL client application.
brew install --cask sequel-ace
SQLite client
As Laravel sets SQLite as the default and it’s easier to set and use locally I tended to use SQLite as a result.
brew install --cask db-browser-for-sqlite
Misc applications
Here are applications that aren’t required for web development however I tend to use them in conjunction with them.
Text editor
Music
I enjoy using Spotify to listen to music while programming code.
brew install --cask spotify
Run all commands in a single script (Alternative install)
For all the above commands used to prepare the development setup, I’ve combined them into a script making it easier and quicker to run everything in one go.
In the terminal go to a suitable location to create a new file and use the touch command to create a blank script file.
touch install.sh
Next, open the file using a terminal text editor such as Nano.
nano install.sh
Copy and paste the content below into the installation.sh file, save, and then exit the file.
#!/bin/bash

# Brew
/bin/bash -c "$(curl -fsSL https://raw.githubusercontent.com/Homebrew/install/HEAD/install.sh)"

# Zsh
brew install zsh
sh -c "$(curl -fsSL https://raw.githubusercontent.com/ohmyzsh/ohmyzsh/master/tools/install.sh)"

# CLI tools
brew install wget

# Install PHP development software
brew install PHP
brew install composer
brew install mysql
brew install node

# Applications
brew install --cask google-chrome
brew install --cask visual-studio-code
brew install --cask postman
brew install --cask spotify

# MySQL Client - Download Antares SQL to user Downloads folder
wget https://github.com/antares-sql/antares/releases/download/v0.7.28/Antares-0.7.28-mac_x64.dmg -P ~/Downloads

# Not in use anymore, using Antares instead.
#brew install --cask sequel-ace
#brew install --cask db-browser-for-sqlite
Now use the bash command to run the script and install all libraries and macOS applications.
bash install.sh
MySQL client alternative
When I originally wrote this article I suggested installing the applications Sequel Ace (MySQL) and DB browser (SQLite). I’ve changed position and now recommend installing the MySQL client Antares SQL.
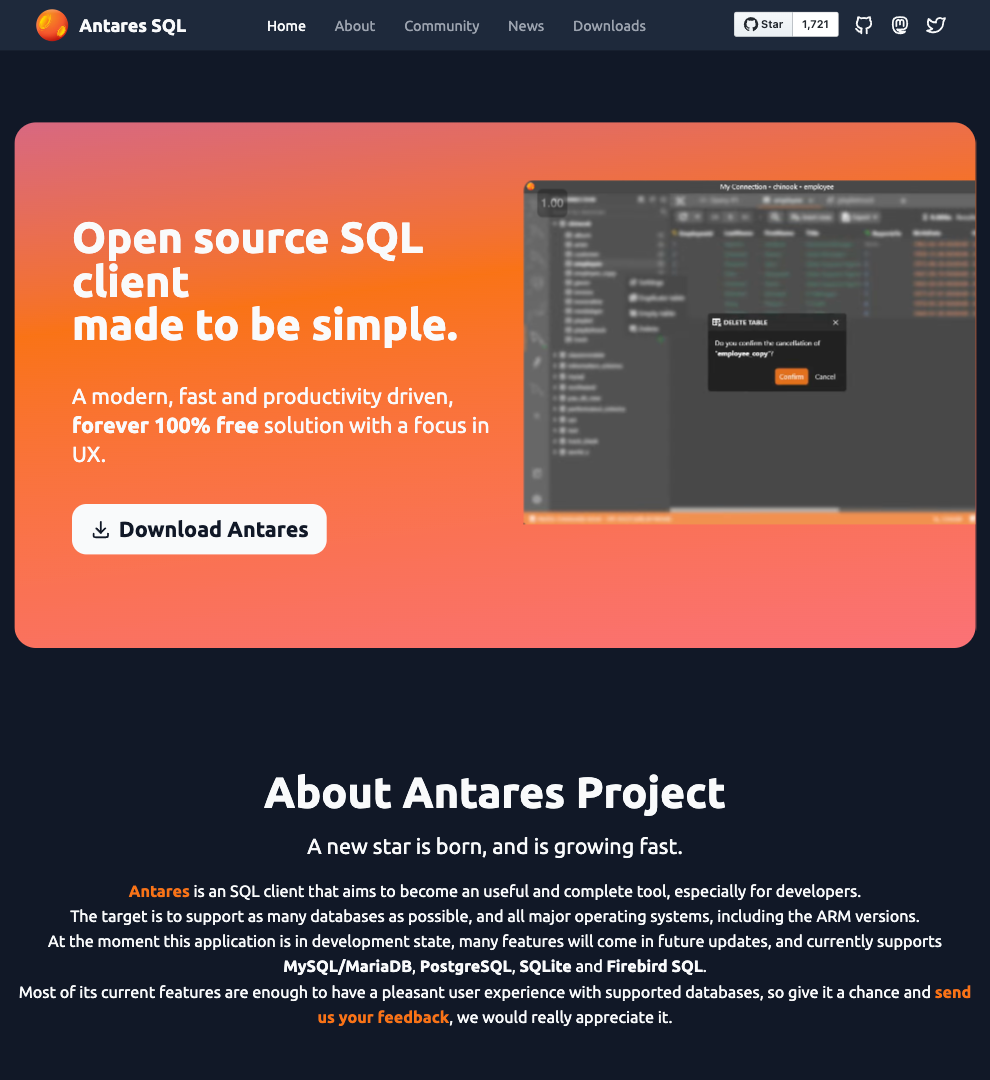
You can download the dmg file from the main website by clicking the Download button.
Conclusion
This guide was created after installing macOS on a Macbook Pro so at the time of writing my setup is fairly new and won’t be fully configured until I start making more use of it.
As I use my Macbook more I will be further updating this guide as it would allow me to keep an up-to-date setup available in case I would need it again for whatever reason such as if I were to buy a new Macbook Pro and need to setup everything again.