Table of Contents
Introduction
Since Laravel version 11, the release notes mentioned that Resend can be used with Laravel. Resend is an API service that can be integrated with Laravel’s Mailer library.
Normally email services charge to send emails, Resend provides a free package that provides up to 3000 emails per month with a daily send limit of 100 so it’s worth using it for sending emails.
Create an account
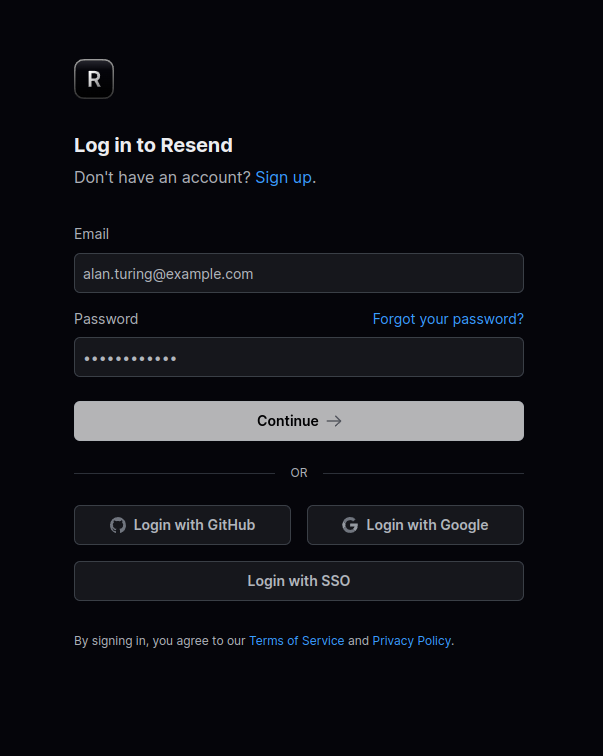
You will be required to register an account on the Resend website as you will need an API Key for the Laravel project to connect to the Resend mail service.
Go to the login page to start, I registered my account using my existing GitHub account to make registration easier.
After authenticating the Resend account in my GitHub account the Resend account was created.
You will need to create a team by filling in a name.
Create an API key
In the account go to the API Keys section where you can create an API key needed to integrate the library.
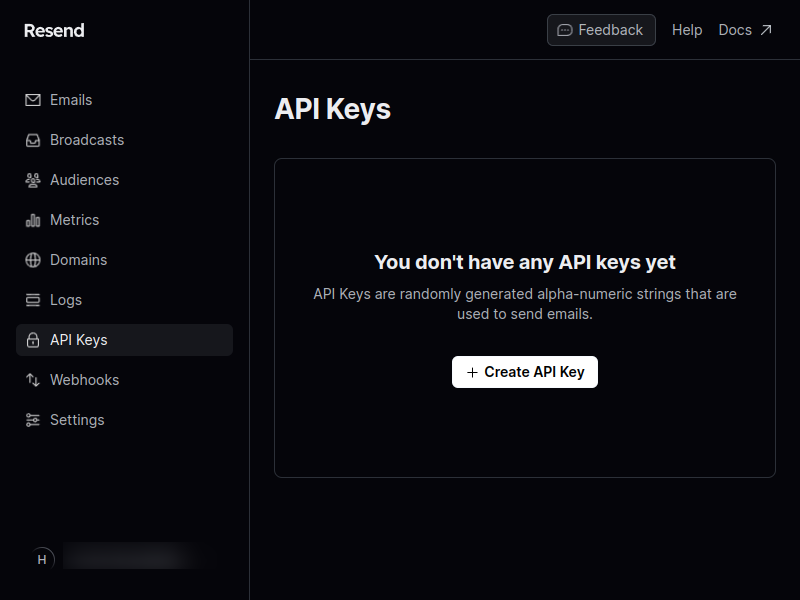
Click the Create API Key button to generate an API key, make sure to copy the key, and store it somewhere safe.
Set up the library in a Laravel project
Open up your Laravel project in a code editor, open up a terminal, and then go to the project directory.
Use composer to install the Resend library.
composer require resend/resend-laravel
Open the .env and add an environment variable for the Resend API key.
RESEND_API_KEY=re_123456789
Also, the mailer environment variables should be updated to be used with the library.
MAIL_MAILER=resend
MAIL_FROM_ADDRESS[email protected]
MAIL_FROM_NAME=Acme
Open the config/mail.php file and update the existing resend config with the following.
'resend' => [
		'transport' => 'resend',
    'key' => env('RESEND_API_KEY'),
],
Sending a test e-mail
Create a blade view template to represent the HTML that will be attached to the Mailable object.
php artisan make:view test-email
Add the following HTML which will represent the email body, the test-email.blade.php file is located in the resources/views directory of the project.
<div>
    <p>This is a test to see if Resend is working.</p>
</div>
Create the Mailable object that will represent the email data.
php artisan make:mail TestEmail
Update the view template inside of the content method to use the blade template created.
/**
 * Get the message content definition.
 */
public function content(): Content
{
    return new Content(
        view: 'test-email',
    );
}
Create a command that will be used to send the actual email.
php artisan make:command SendEmail
Open the SendEmail.php file located in the app/Console/Commands directory and add the following code.
<?php

namespace App\Console\Commands;

use App\Mail\TestEmail;
use Illuminate\Console\Command;
use Illuminate\Support\Facades\Mail;

class SendEmail extends Command
{
    /**
     * The name and signature of the console command.
     *
     * @var string
     */
    protected $signature = 'app:send-email {toEmail}';

    /**
     * The console command description.
     *
     * @var string
     */
    protected $description = 'Sends a test email using the Resend library';

    /**
     * Execute the console command.
     */
    public function handle()
    {
        $toEmail = $this->argument('toEmail');

        Mail::to($toEmail)->send(new TestEmail());
    }
}
Now call the command in the terminal, and replace the {toEmail} part with an email address you want to use to receive the email.
php artisan app:send-email {toEmail}
Normally if arguements were passed into the command then validation should be in place as the toEmail value may not be an email. Validation wasn’t added as this is just a simple example to show that an email can be sent with Resend.
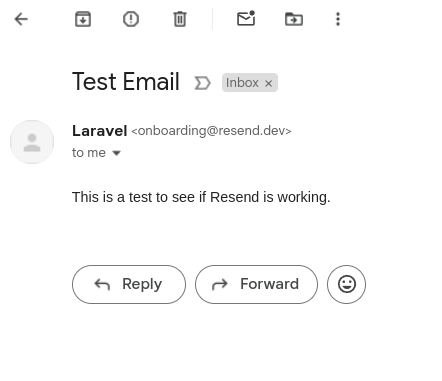
You should receive the email to the email address used and it will look like the following.
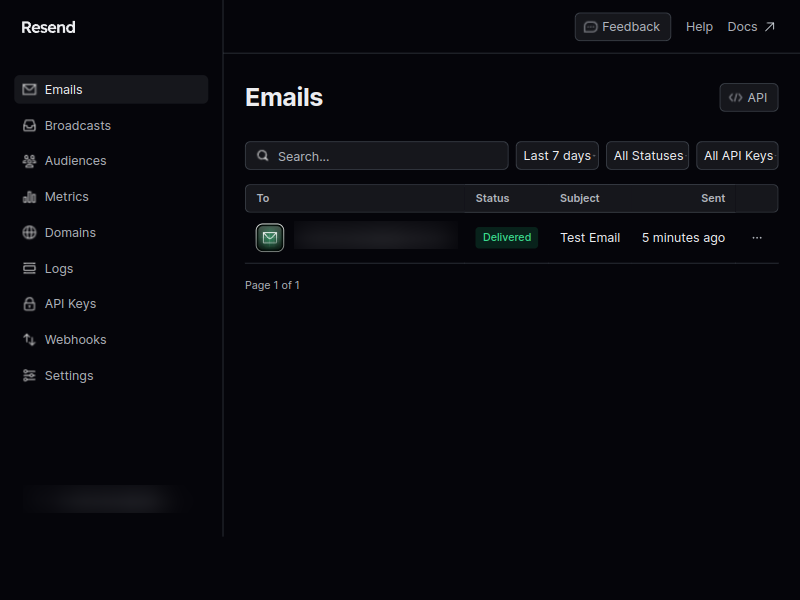
Go back to the resend website and then the emails page and you will see a record of the email that was sent from the Laravel project.
To view the number of emails sent go to the settings page to see the total number of emails sent and the monthly limits.
Conclusion
If you managed to setup the test email and successfully send an email to your email account then you are ready to start using Resend in your Laravel projects.
It’s a great service, especially as it provides a generous amount of monthly free emails and their account dashboard is simple and easy to use. I highly recommend choosing this service when working on personal and small projects.