This guide shows you how to create a simple hello world Cloudflare worker which works similarly to how something like Amazon AWS Lambda’s works.
How to create a worked project
Go into your terminal application and change to a directory where you keep your coding projects.
Now run the following command to begin the project setup.
npm create cloudflare@latest
You will be presented with a series of questions where you need to give an answer or select one from a list.
The below shows the questions with the answers I selected…
In which directory do you want to create your application?
- ./cloudflare
What type of application do you want to create?
- "Hello World" Worker
Do you want to use TypeScript?
- Yes
Do you want to use git for version control?
- Yes
Do you want to deploy your application?
- No
The project will be created after these answers are given.
Checking the code
The project created is an example Hello World project you can view and edit the worker's code.
Open the index.ts file inside of the src folder in your code editor.
/**
 * Welcome to Cloudflare Workers! This is your first worker.
 *
 * - Run `npm run dev` in your terminal to start a development server
 * - Open a browser tab at http://localhost:8787/ to see your worker in action
 * - Run `npm run deploy` to publish your worker
 *
 * Bind resources to your worker in `wrangler.toml`. After adding bindings, a type definition for the
 * `Env` object can be regenerated with `npm run cf-typegen`.
 *
 * Learn more at https://developers.cloudflare.com/workers/
 */

export default {
	async fetch(request, env, ctx): Promise<Response> {
		return new Response('Hello World!');
	},
} satisfies ExportedHandler<Env>;
The above code will return the Response object with the text “Hello World!”.
From here you can execute some kind of action which may or may not use the request parameter passed into the endpoint call.
Run locally
Change into the project's directory, for the above project it would be Cloudflare.
cd cloudflare
Run the project.
npm run start
The project should run on the URL http://localhost:8787.
Environment variables
To use environment variables on a local project do the following.
Firstly create a .dev.vars file.
touch .dev.vars
Add environment variables to the file and save it.
API_HOST = "development.example.com"
API_ACCOUNT_ID = "development_example_user"
Run the project locally and the environment variables will be accessible using the env variable.
env.API_HOST
Using a database
Typically with a serverless function, you will want a way to access a database to retrieve and store data.
Cloudflare provides a few options for database storage, for this example, I will be using D1 as it’s SQLite and familiar to most who work with databases.
npx wrangler d1 create test-database
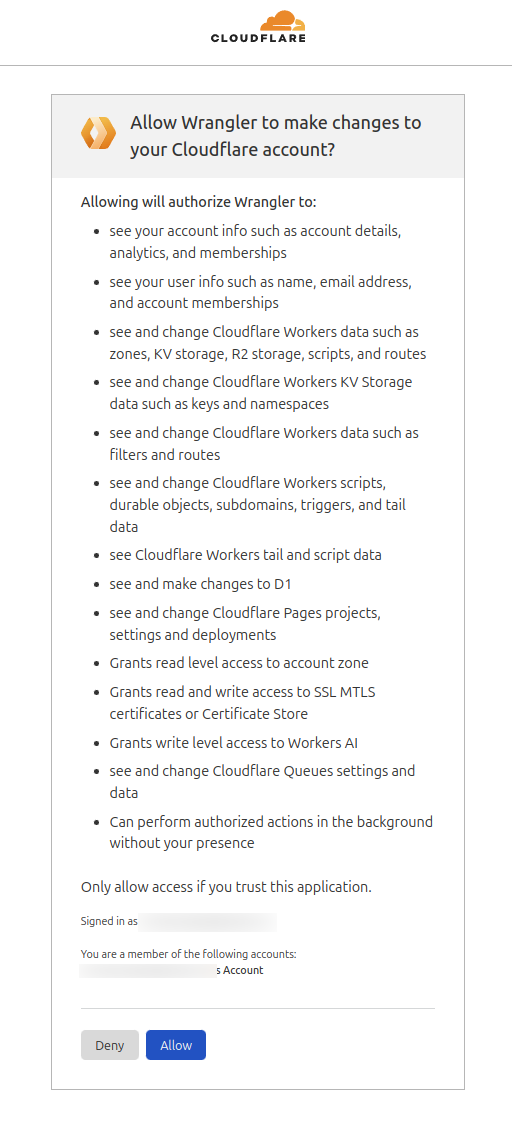
A web browser will open which requires you to permit for the Wrangler tool to make changes to your Cloudflare account, press the Allow button to grant permission and the database will be created.
The database details will be output in the terminal after it’s created in Cloudflare, copy and paste those details into the wrangler.toml file of the project.
The next task is to create the database, the following steps will create a database with some sample data.
Create a schema.sql file.
touch schema.sql
Add the following content to the file and then save it.
DROP TABLE IF EXISTS users;
CREATE TABLE IF NOT EXISTS users (id INTEGER PRIMARY KEY, name TEXT);
INSERT INTO users (id, name) VALUES (1, 'Tony Stark'), (2, 'Steve Rogers'), (3, 'Bruce Banner'), (4, 'Clint Barton');
Run the following command to run the schema file to a local database.
You can swap out the --local flag with --remote to create the database in your online Cloudflare account.
npx wrangler d1 execute test-database --local --file=./schema.sql
Now run a query to test that the database is up and running.
npx wrangler d1 execute test-database --local --command="SELECT * FROM users"
The database rows will be output after running the above command.
Deploy project to Cloudflare
Run the deploy command.
npm run deploy
The project will be deployed and a URL will be presented for the worker. You will see the URL output in the terminal, copy and paste it somewhere so you can refer back to it when you need to use it.
You will be required to sign into your Cloudflare account, a login page should open in your default web browser.
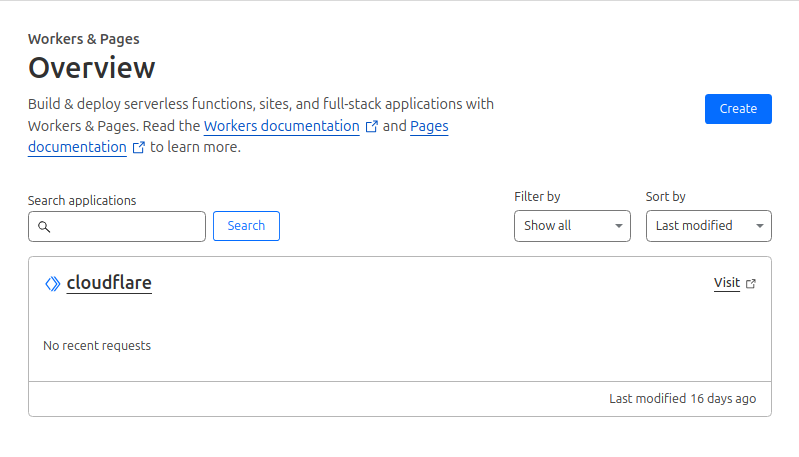
If you check your Cloudflare account under the Workers and Pages overview page you should see the worker added if the deployment was successful.
At this point, you can now create and deploy simple worker projects.
Environment Variables
For deployed Cloudflare workers the environment variables can be set up directly in your account.
- While on the
- You will see a menu, click on the
- A left-hand menu will appear below, click on
- The
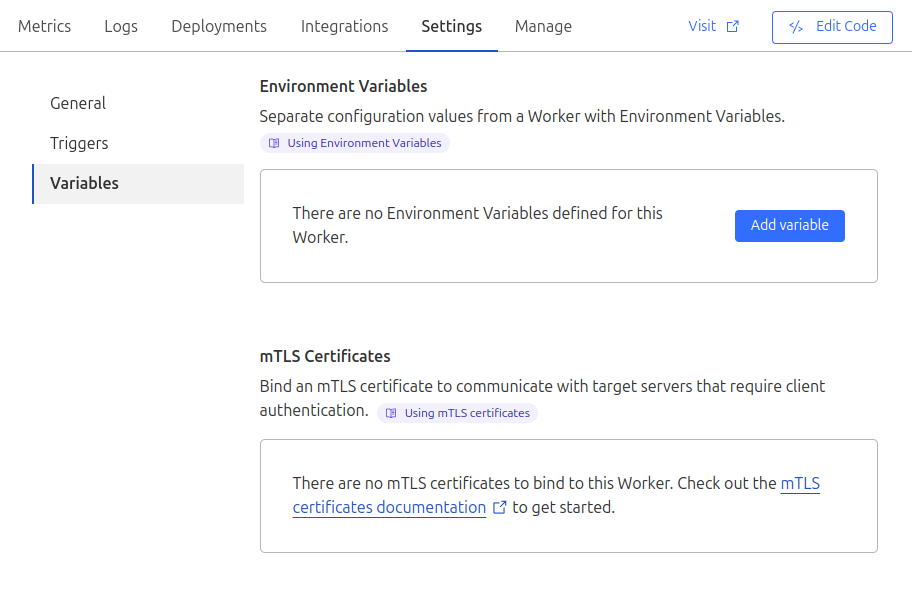
After adding your environment variables click the Deploy button to apply the changes to your worker.